
WordPress has powered over 40% of the web for decades, but the way we build with it is evolving. Enter headless WordPress—a modern approach that decouples the front-end from the back-end, offering developers unparalleled flexibility. Paired with React, a JavaScript library for building dynamic interfaces, this combo is reshaping how we create websites. In this guide, you’ll learn why React is at the forefront of the headless WordPress revolution and how to build your own decoupled site step by step.
What is Headless WordPress?
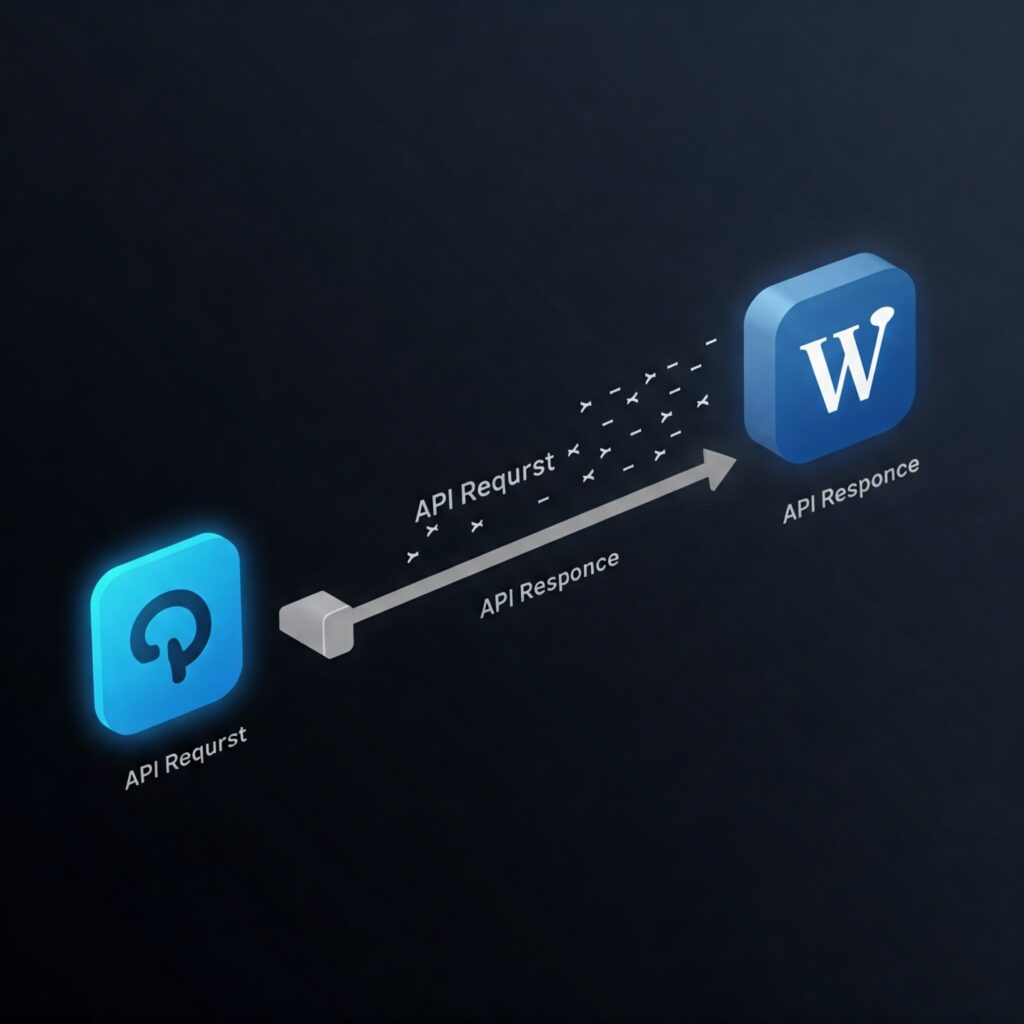
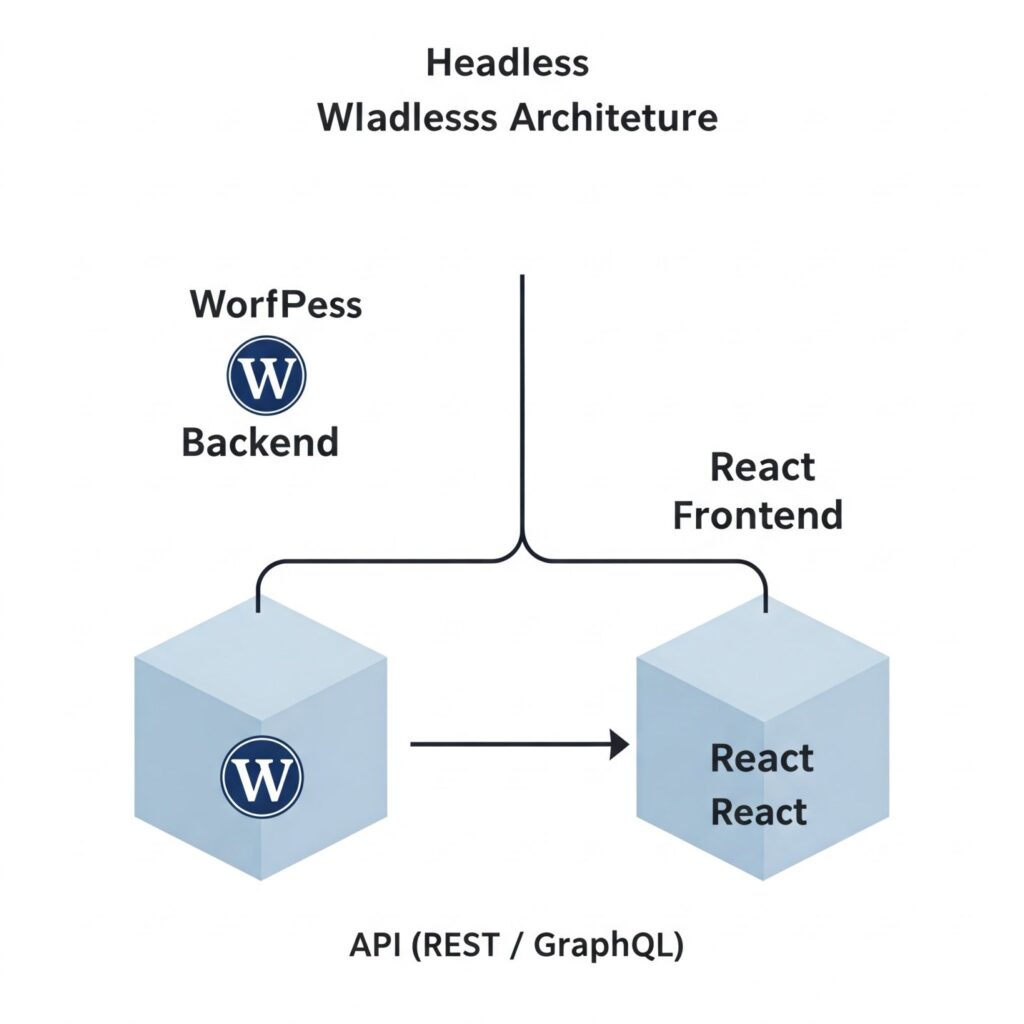
Traditional WordPress uses a monolithic structure where the CMS (back-end) and theme (front-end) are tightly connected. A headless WordPress setup breaks this bond. Instead of relying on PHP templates, the CMS acts purely as a content repository, delivering data via APIs (like REST or GraphQL) to any front-end framework—React, Vue.js, or even mobile apps.
Key Benefits of Headless WordPress:
- Flexibility: Design your front-end with modern tools.
- Performance: Serve static pages or use server-side rendering for faster load times.
- Security: Reduce attack surfaces by separating the CMS from the public-facing site.
Why Use React with Headless WordPress?
React’s component-based architecture and vibrant ecosystem make it a natural fit for headless WordPress. Here’s why:
- Reusable Components: Build UI elements (like post grids or forms) once and reuse them across projects.
- State Management: Tools like Redux or Context API simplify handling dynamic data.
- SEO-Friendly: Pair React with frameworks like Next.js for server-side rendering (SSR).
- Community Support: React’s massive community ensures endless plugins, tutorials, and updates.
How to Set Up a Headless WordPress Environment
Step 1: Install WordPress
Start with a fresh WordPress installation. Use a local tool like LocalWP or a hosting provider that supports headless setups (e.g., WP Engine).
Step 2: Enable the REST API
WordPress includes a built-in REST API. To access it, go to yourdomain.com/wp-json/wp/v2. For custom post types, install the Custom Post Type UI plugin.
Step 3: Optional – Add WPGraphQL
Prefer GraphQL over REST? Install the WPGraphQL plugin for a more efficient querying experience.
Creating a React Front-End
Step 1: Initialize a React App
Using Create React App:
npx create-react-app my-headless-site
cd my-headless-site
npm start
Step 2: Fetch WordPress Content
Use axios or the native fetch API to retrieve posts. Here’s a REST API example:
import React, { useEffect, useState } from 'react';
import axios from 'axios';

function App() {
  const [posts, setPosts] = useState([]);

  useEffect(() => {
    axios.get('https://your-wordpress-site/wp-json/wp/v2/posts')
      .then(response => setPosts(response.data))
      .catch(error => console.log(error));
  }, []);

  return (
    <div>
      {posts.map(post => (
        <div key={post.id}>
          <h2>{post.title.rendered}</h2>
          <div dangerouslySetInnerHTML={{ __html: post.content.rendered }} />
        </div>
      ))}
    </div>
  );
}

export default App;
Step 3: Styling and Components
Break your UI into components (e.g., Header.js, PostList.js) for better maintainability.
Fetching Content via REST API vs. WPGraphQL
- REST API: Easy to start, but can lead to over-fetching data.
- WPGraphQL: Fetch exactly what you need in a single request.
WPGraphQL Example:
query GetPosts {
  posts {
    nodes {
      id
      title
      content
      featuredImage {
        node {
          sourceUrl
        }
      }
    }
  }
}
Authentication and Deployment Tips
Authentication:
- Use JWT tokens for secure API access (install the JWT Authentication plugin).
- Hide sensitive data using environment variables.
Deployment:
- Host your React app on Vercel or Netlify for seamless CI/CD.
- Use a static site generator like Next.js for SEO optimization.
Authentication and Deployment Tips
Authentication: If you need to display private content or allow users to interact with your WordPress backend (like submitting comments or logging in), you’ll need to handle authentication separately in your React app. Common methods include using the WordPress REST API’s built-in authentication handlers or plugins that provide JWT (JSON Web Token) authentication specifically for headless setups. This adds a layer of complexity compared to being logged into a traditional WordPress site.
Deployment: Deploying a decoupled WordPress website involves deploying two separate applications:
- Your WordPress Backend: This stays on a standard web host or server, just like a traditional WordPress site.
- Your React Front-End: This can be deployed to various platforms. Static site hosts like Netlify and Vercel are excellent choices, especially if you build your React app as a static site generator (like using Gatsby or Next.js’s static export). They are optimized for speed and performance. Alternatively, you can deploy it to a Node.js server or other hosting environments.
The key is that your deployed React app needs to be able to make HTTP requests to your deployed WordPress backend’s API endpoint.
Pros and Cons of Headless WordPress
While powerful, the headless approach isn’t a one-size-fits-all solution.
Pros:
- Maximum Flexibility: Choose any frontend technology.
- Improved Performance: Potentially much faster load times and smoother user experiences.
- Enhanced Security: Separating the frontend from the backend can reduce certain attack vectors.
- Scalability: Scale frontend and backend independently.
- Future-Proofing: Easily swap or update the frontend technology without touching the CMS.
Cons:
- Increased Complexity: You are managing two separate applications.
- Higher Development Cost: Requires expertise in both WordPress (as a CMS) and your chosen frontend framework (React).
- Loss of Some WordPress Features: Built-in theme features, plugin integrations that rely on the WordPress theme layer (like some page builders or complex form plugins), and the live theme customizer are not available in the headless frontend. You need to find headless-compatible alternatives or rebuild functionality.
- Previewing Content: Previewing content changes from the WordPress admin might require custom solutions to see how they look on the React frontend before publishing.
For simple blogs or sites where performance is not a critical factor and traditional WordPress themes suffice, staying with the coupled approach might be more practical. However, for complex web applications, highly interactive sites, or situations where performance and frontend flexibility are paramount, Headless WordPress with a React front-end is a compelling solution.
Try This Challenge:
Build a simple blog using React and the WordPress REST API. Share your results on social media and tag us!